

How To Install Android X86 On Virtualbox
This tutorial shows how to utilise VirtualBox to accelerate debugging of Android apps with native components. We will evidence how to create an Android VirtualBox VM, configure information technology for debugging and utilise VisualGDB to debug the San-Angeles projection. Before yous begin, download the latest VirtualBox and become an x86 Android ISO from the android-x86.org website.
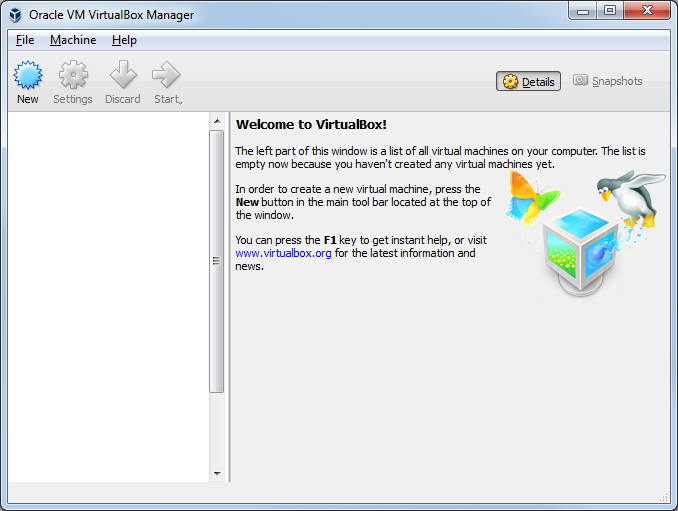
- Install and run VirtualBox. Click the "New" button to create a new VM:
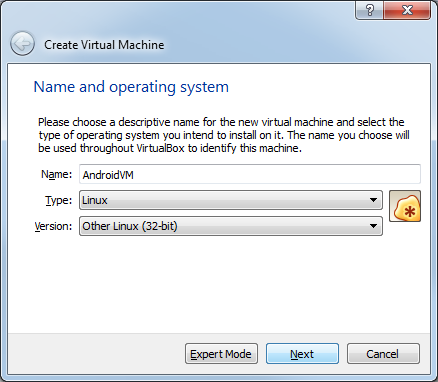
- Select "Linux -> Other Linux (32-scrap)" as the machine blazon:
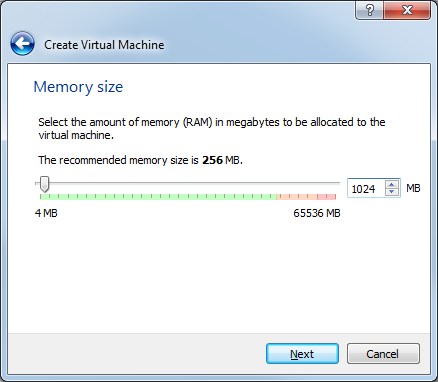
- Proceed with the default retention size:
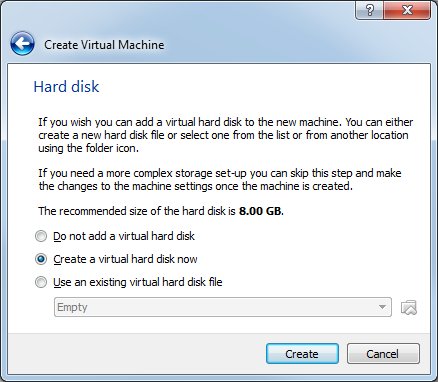
- Select "Create a virtual difficult disk now":
- Proceed with the default virtual disk format:

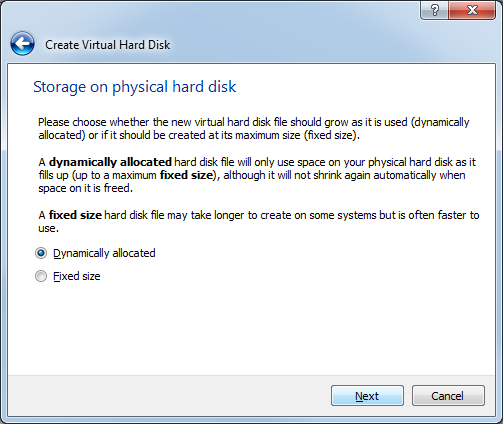
- On the side by side folio select "dynamically allocated":
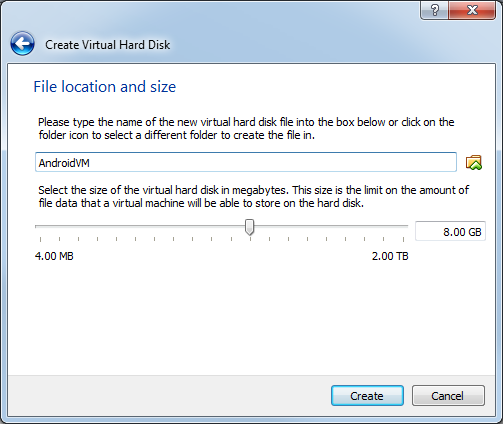
- Finally y'all can customize the disk size. The default value of 8GB should be enough for virtually cases:
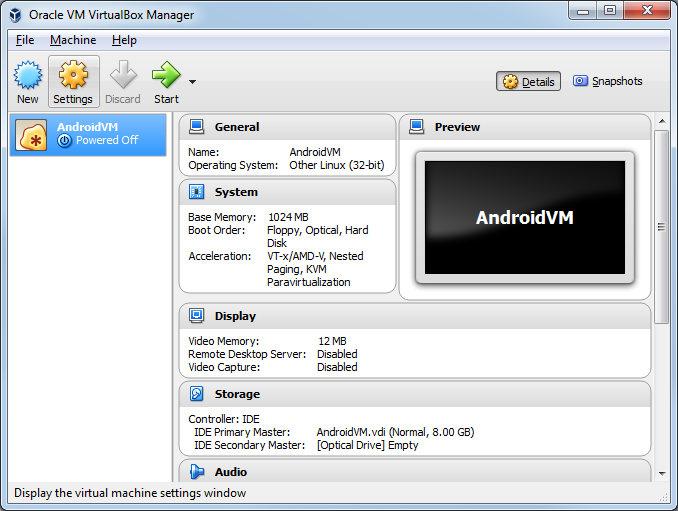
- Before yous tin can start installing the Android OS into your VM, yous need to mount the ISO file in it. Click "Settings" to open the VM settings:
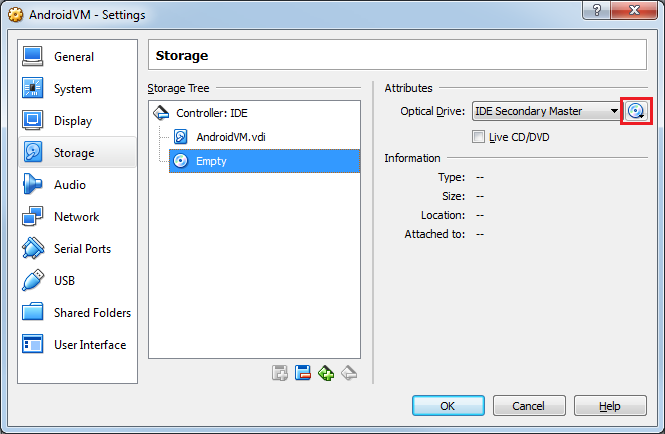
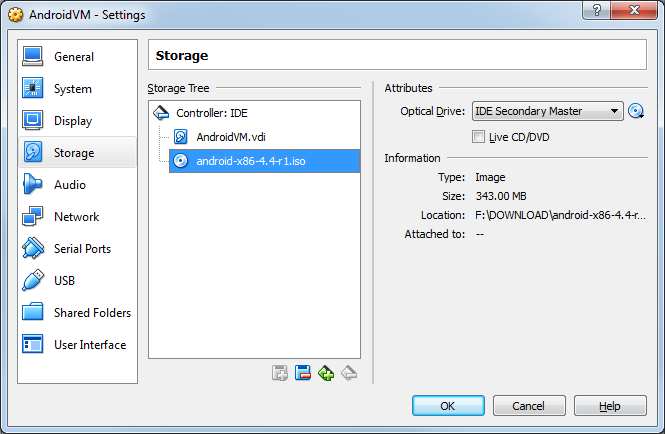
- Go to the "Storage" tab, select the empty CD-ROM device and click the disc icon to scan for a disc epitome:
- Specify the path to the Android image y'all downloaded. It will appear in the Settings window:
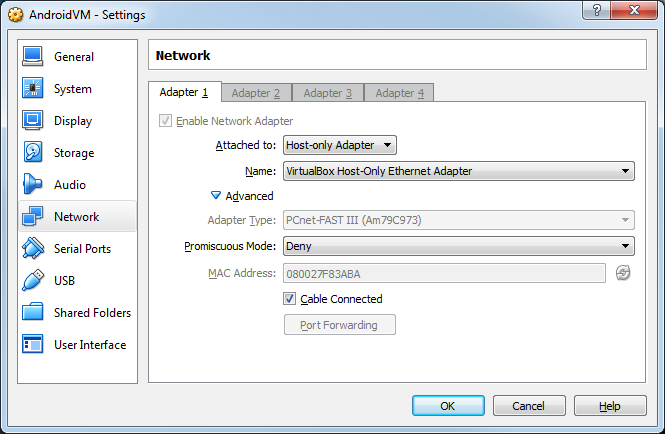
- Go to the network settings and select either Host-only adapter (if you don't accept a local DHCP server) or Bridged manner (if your network has a DHCP server):
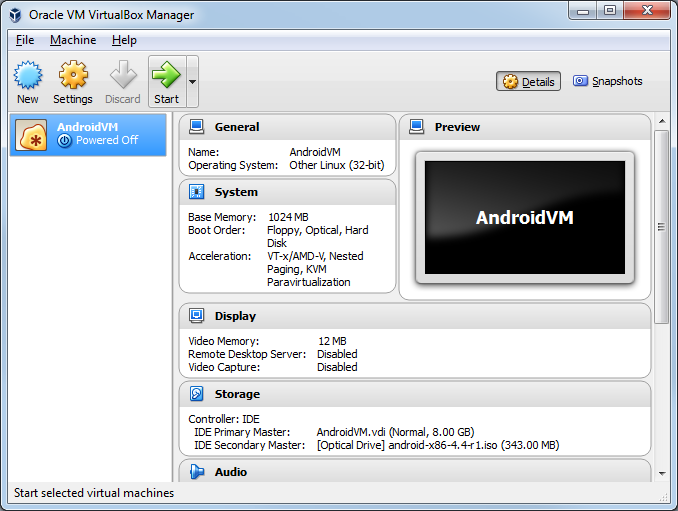
- Finally press OK to salve the settings and first the VM:
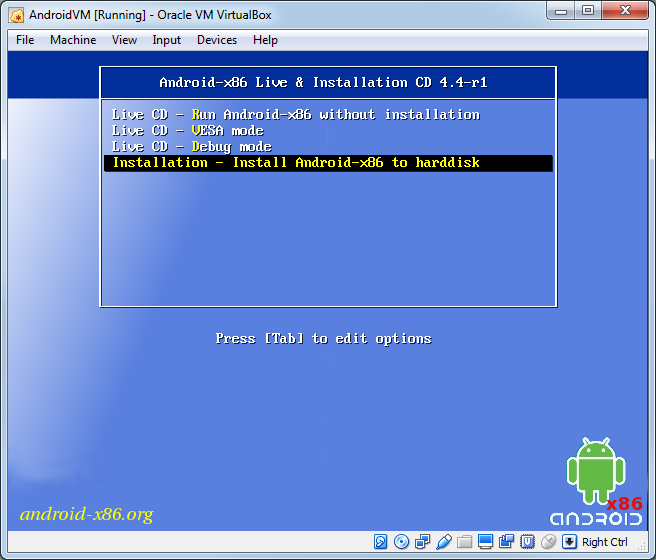
- In the boot menu select "Installation" and press Enter:
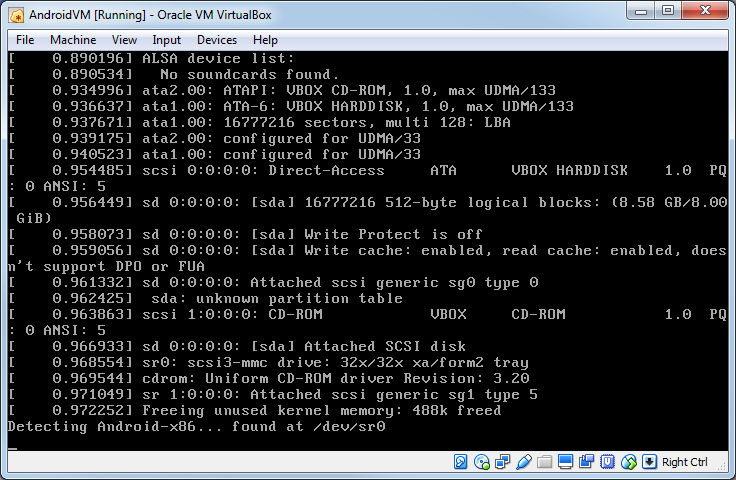
- Wait until the Android Os boots:
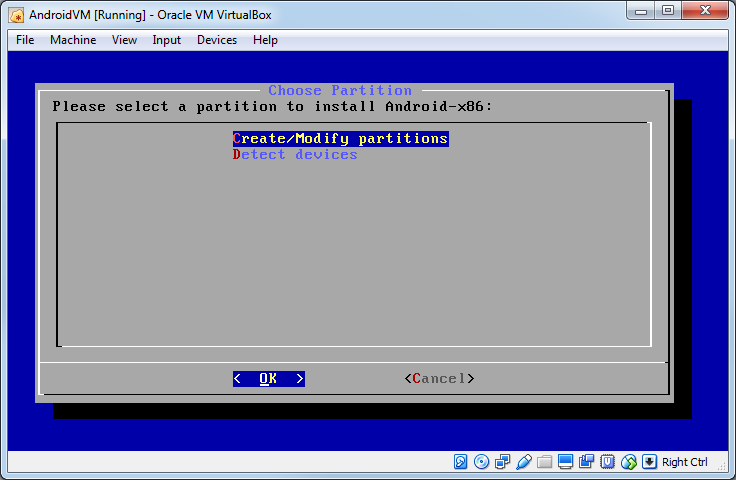
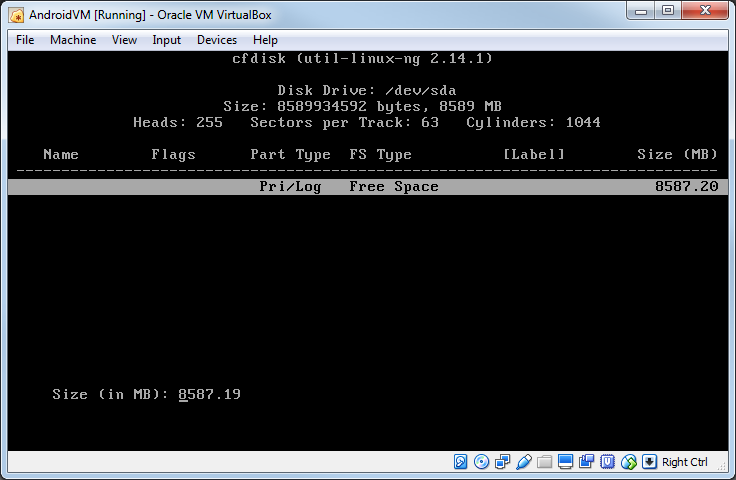
- Select "Create/modify partitions":
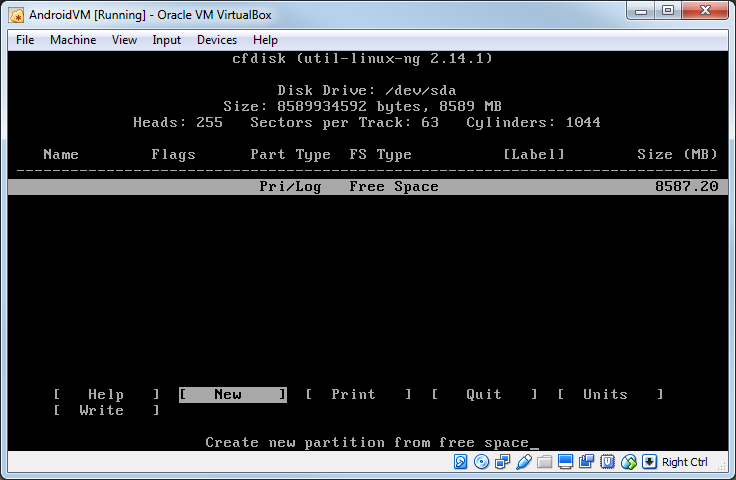
- Select "New" to create a new partition:
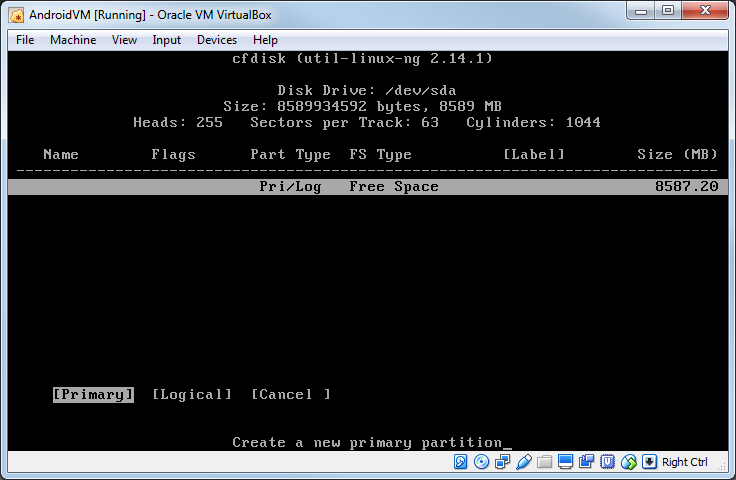
- Select "Primary" to create a partitioning that can be used to shop a bootable Os:
- Keep with the size suggested by the sectionalization utility. By default the new division volition cover the entire disk:
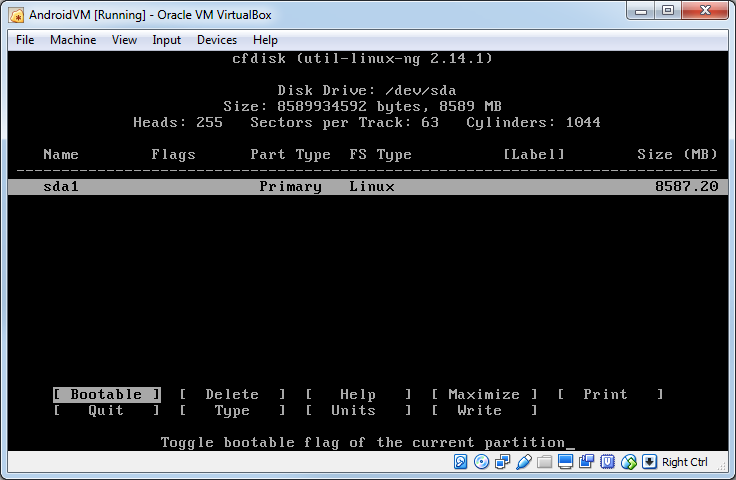
- Select the "Bootable" button and printing Enter to marking the segmentation as bootable:
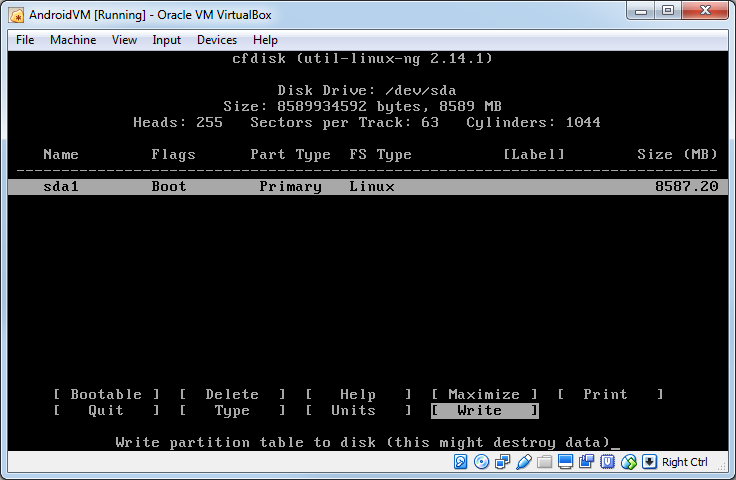
- Finally select "Write" and press Enter to save the partition table to the disk:
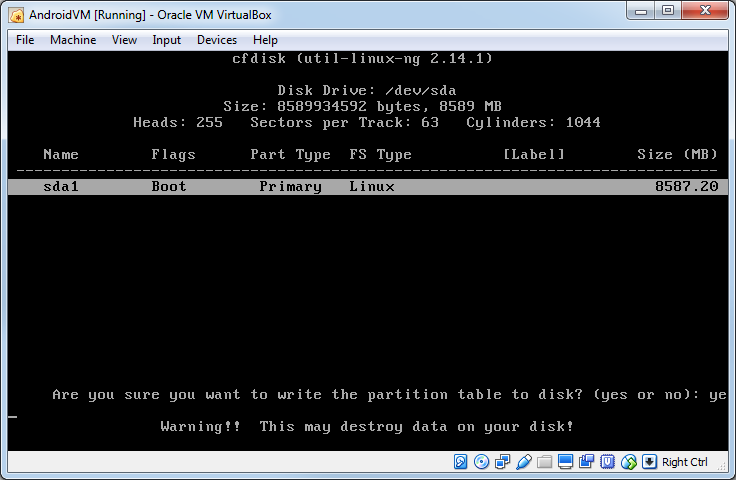
- Type "yes" and press Enter to confirm the write:
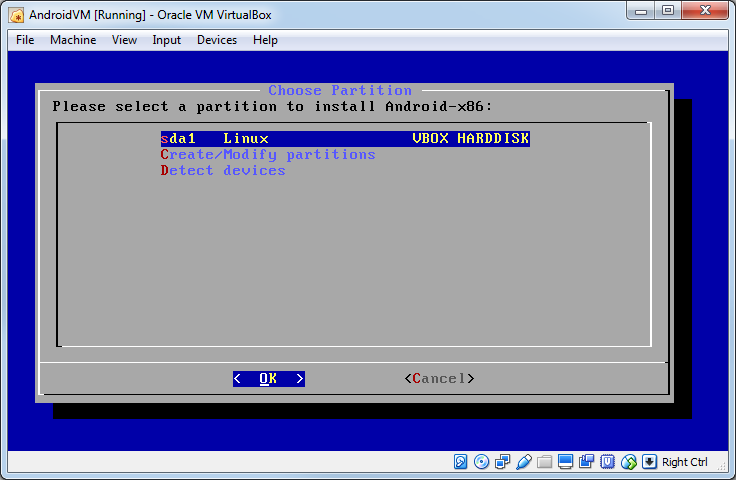
- Now you can select the newly created partition in the sectionalisation list and press OK:
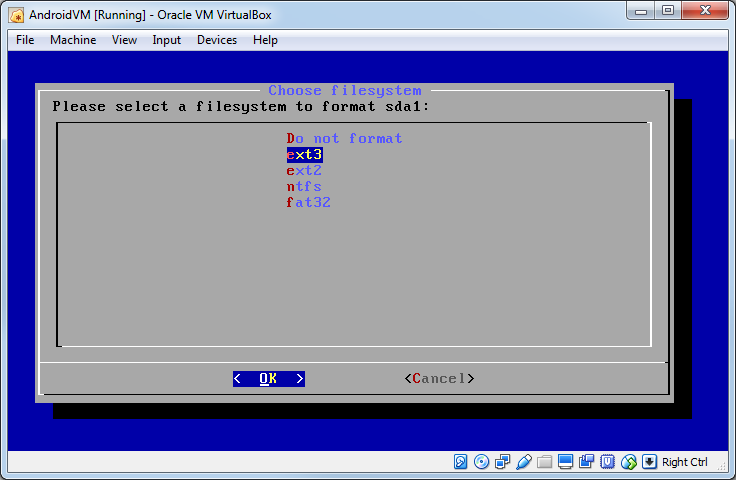
- Choose to format it with the ext3 filesystem:
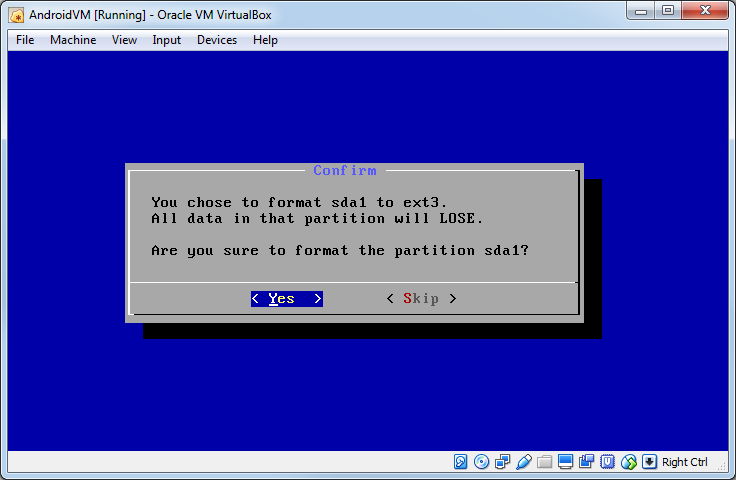
- Confirm the format performance:
- Choose "Yes" to install the boot loader so that yous can boot into the operating system:

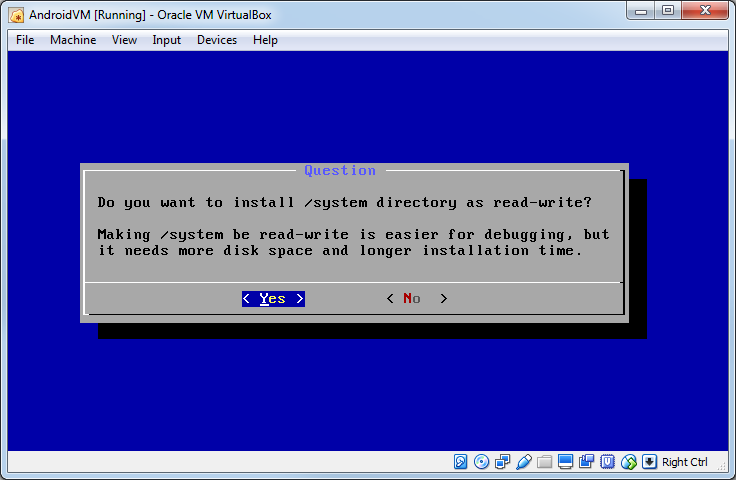
- Choose to brand the system directory writable as this will permit fixing permission problems described later:
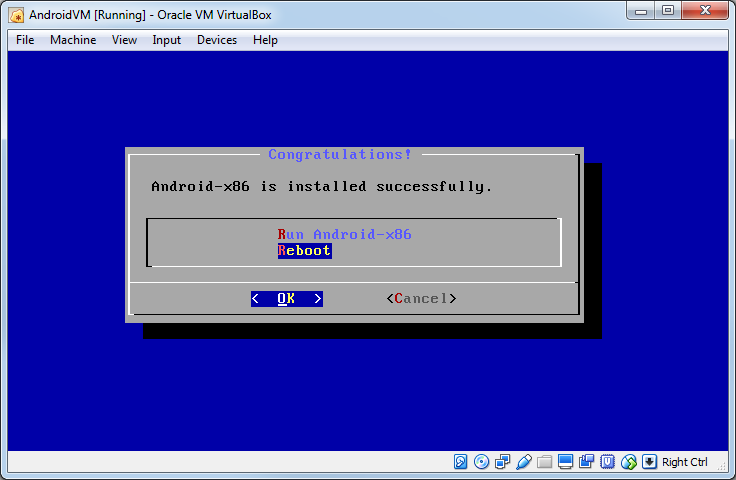
- The Android Bone will at present be installed. Once the installation completes, cull "Reboot":
- To avert booting into the installer again, open VM properties and remove the virtual CD-ROM device:

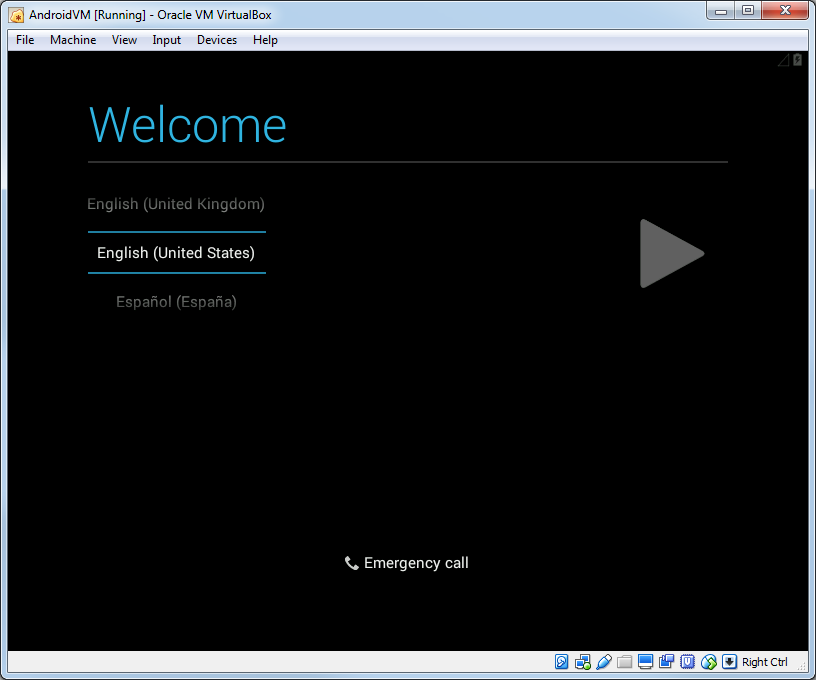
- Once the Os boots, select your language and press the button to the correct to continue:
- If you cannot see the mouse pointer, try toggling the mouse integration in the Input menu:

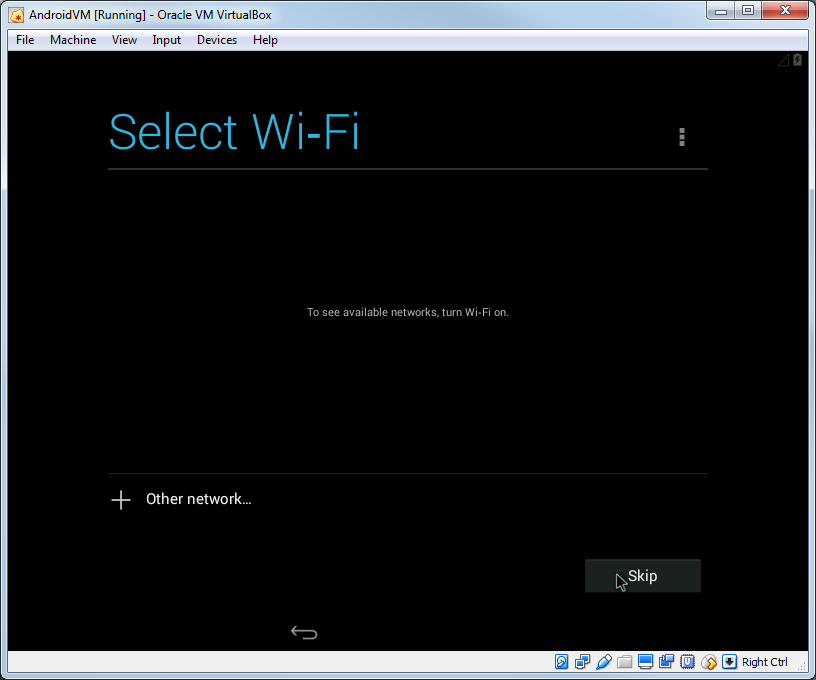
- Skip the WiFi choice as we will be using a virtual network adapter anyhow:
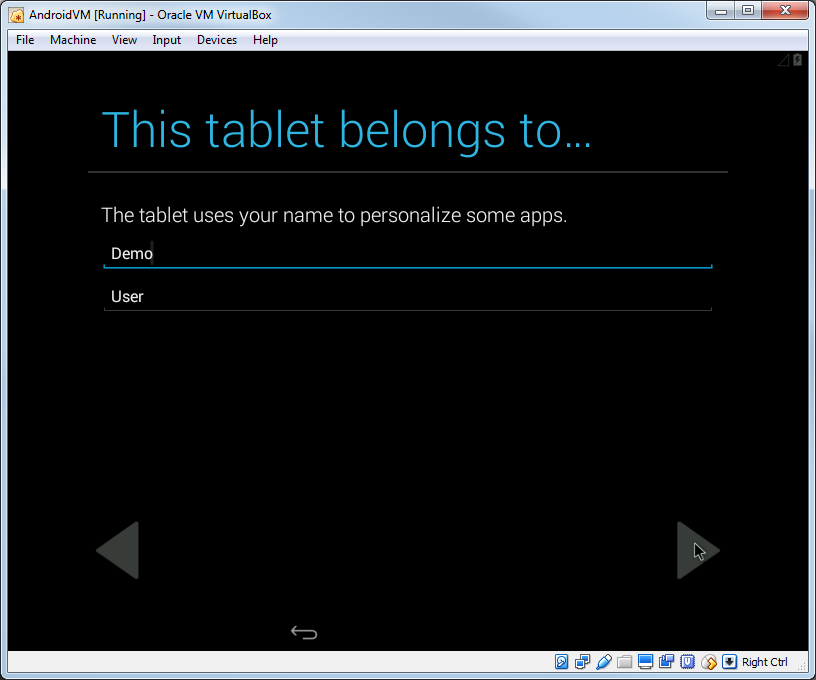
- Enter the user name that will be associated with your virtual Bone installation:
- At present the installation is complete and you lot tin can finally beginning using your OS. It is recommended to create a VM snapshot at this point so that you tin return to information technology later if something breaks:
- Open up the Final app from the apps list and run the following commands to prepare the run-equally permission bug and determine the current IP address:
ifconfig eth0
su
chmod 4750 /system/bin/run-as
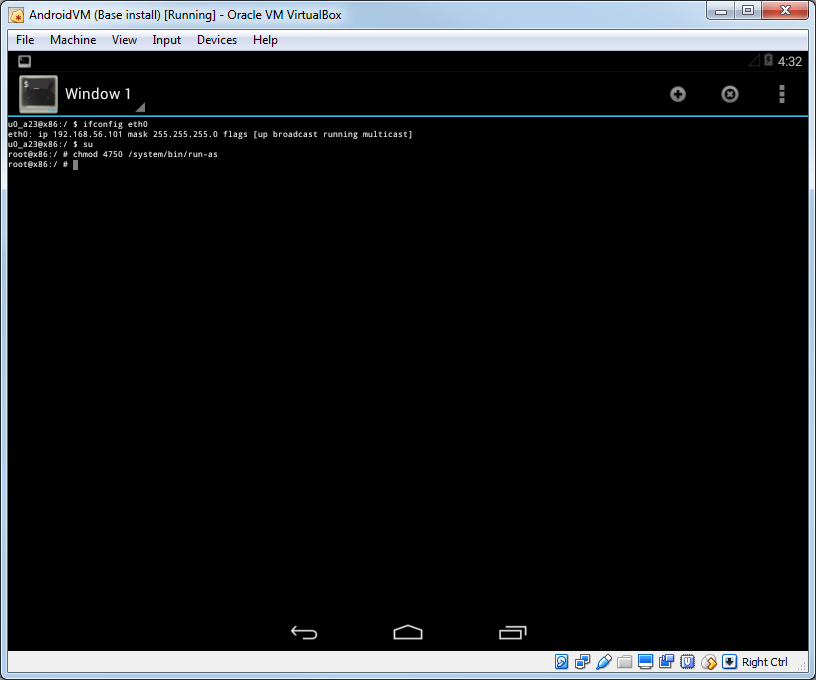 Unless you update the permission on the run-as tool, you won't be able to debug native Android lawmaking, equally the Android system won't be able to launch the gdbserver under the correct user account.
 - Open up a command prompt window on your Windows auto and run the "adb connect <IP Accost>:5555" command followed by "adb crush". You should encounter the Android beat out of your virtual device:
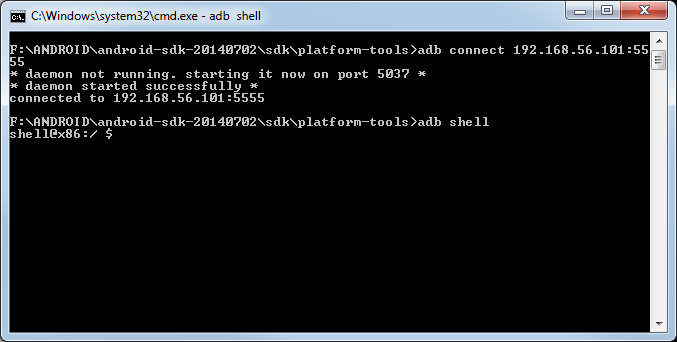 You can shut the crush by pressing Ctrl-D and exit the command prompt window.
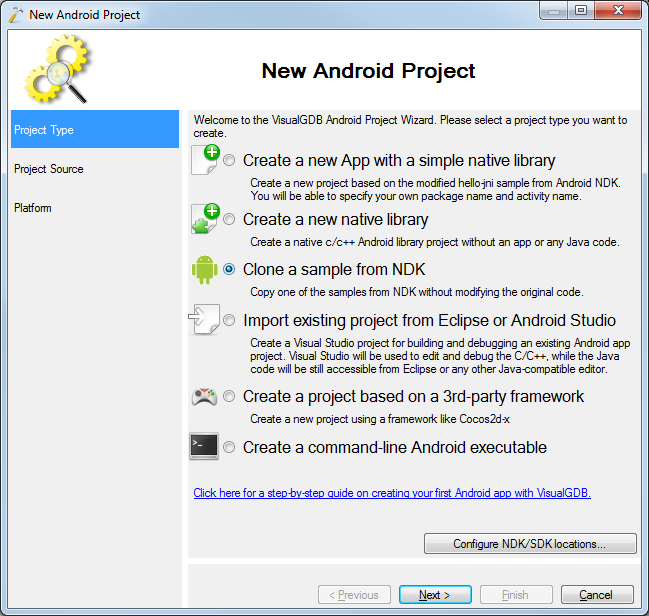
 - Now nosotros will evidence how to create and debug a basic OpenGL app with Visual Studio and VisualGDB. Start Visual Studio and launch the VisualGDB Android Projection Magician:
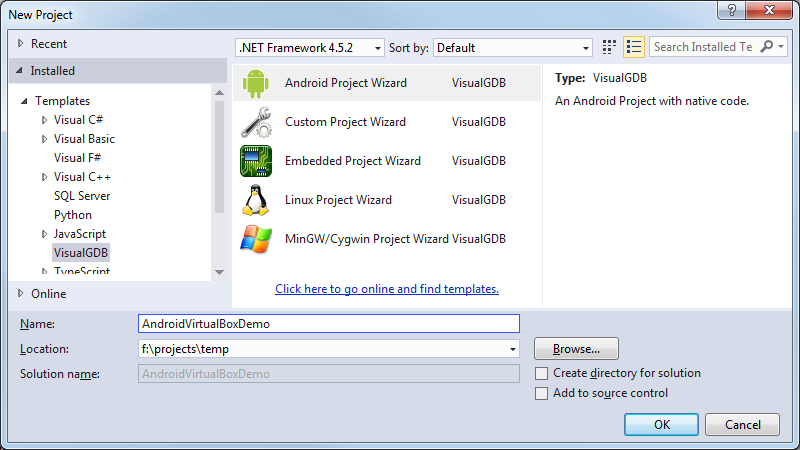
- Select "Clone a sample from NDK":
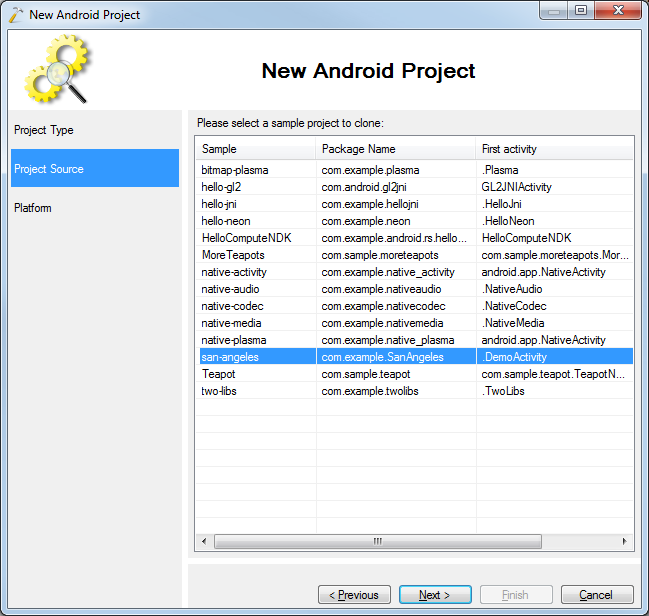
- Select the san-angeles projection from the sample list:
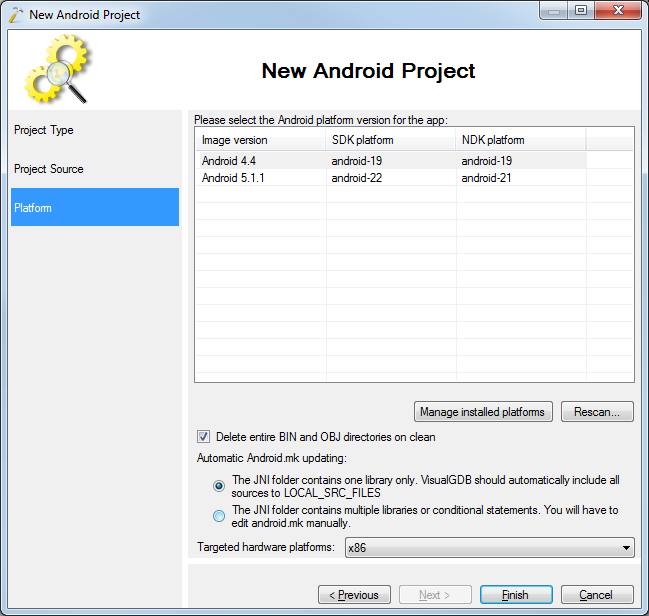
- Select the Android Bone version that matches the version yous installed into VirtualBox and select "x86" as the hardware platform:
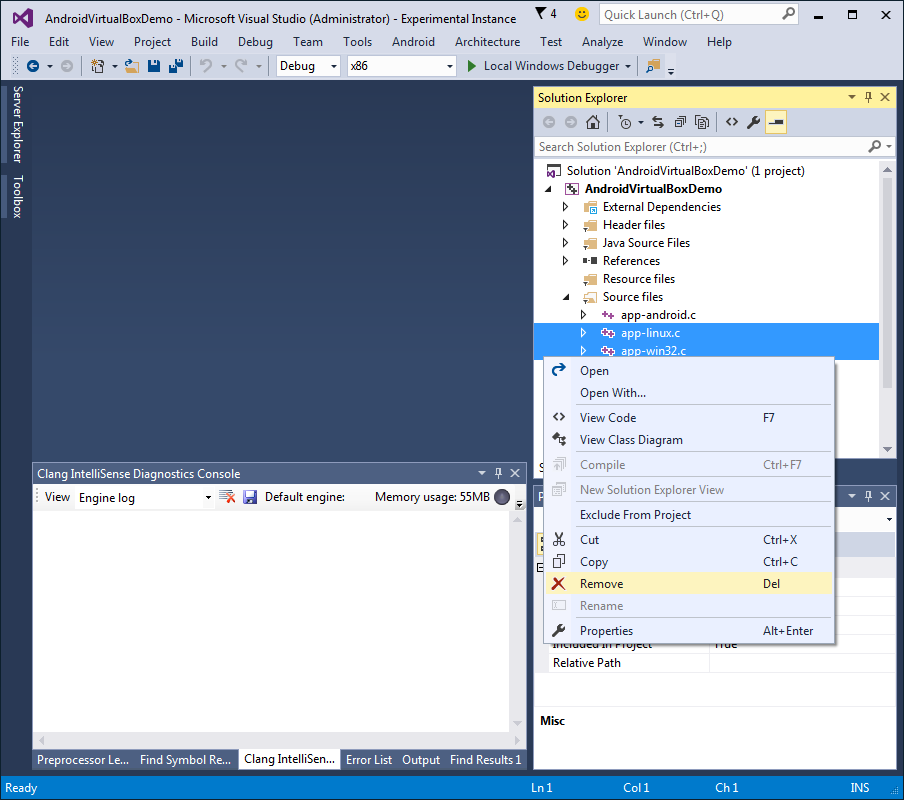
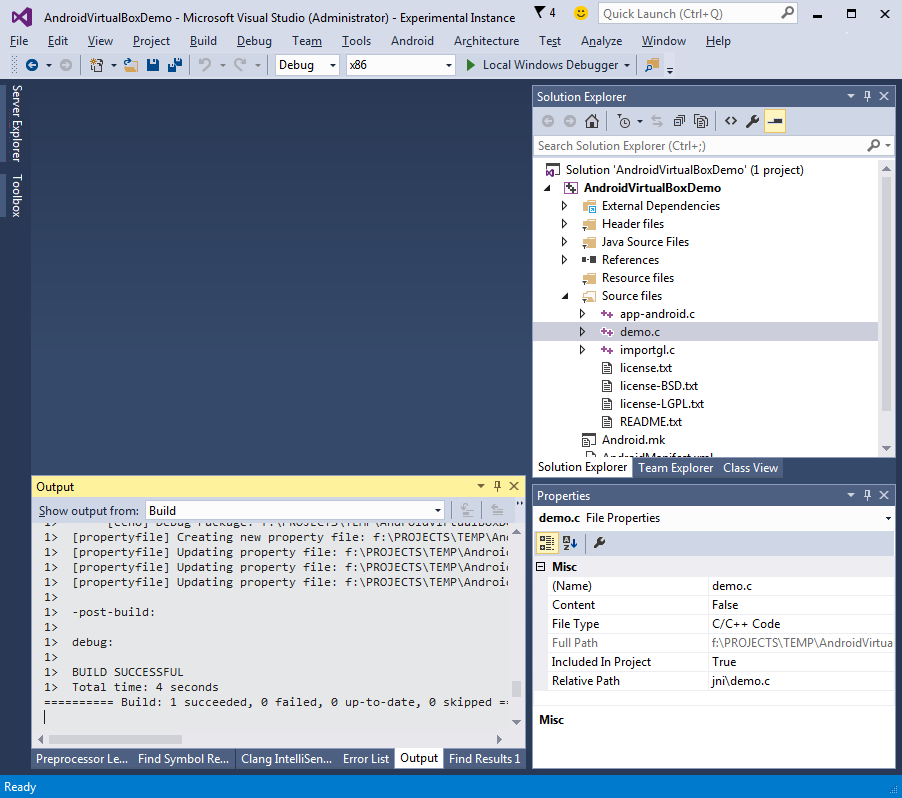
- Once the project is created, remove the app-linux.c and app-win32.c files:
- Build the project with Ctrl-Shift-B:
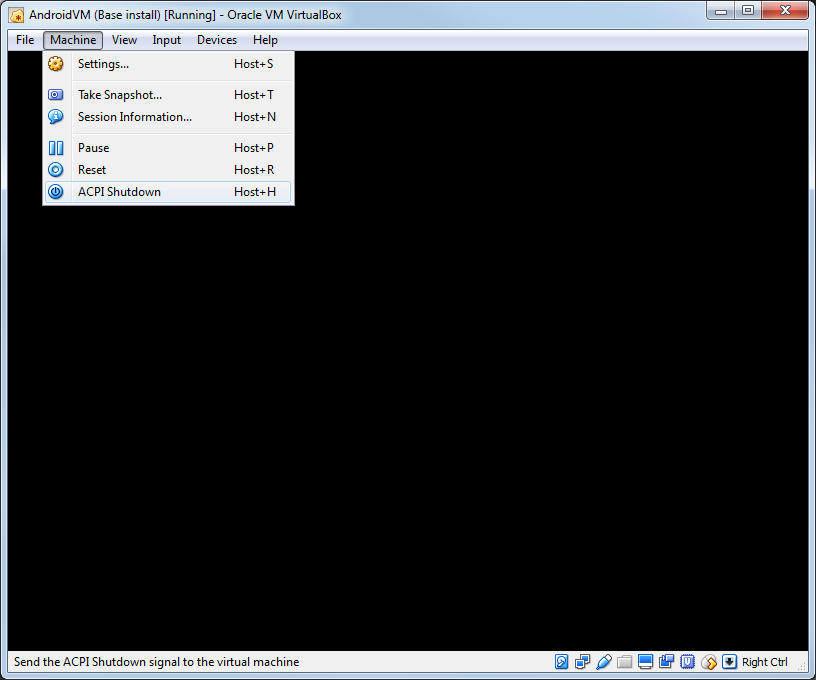
- If your Android VM screen appears blank, the Android Bone has most likely gone into the sleep mode and won't react on keyboard and mouse events. Use the Car->ACPI shutdown control to wake information technology up by emulating the ability push button press:
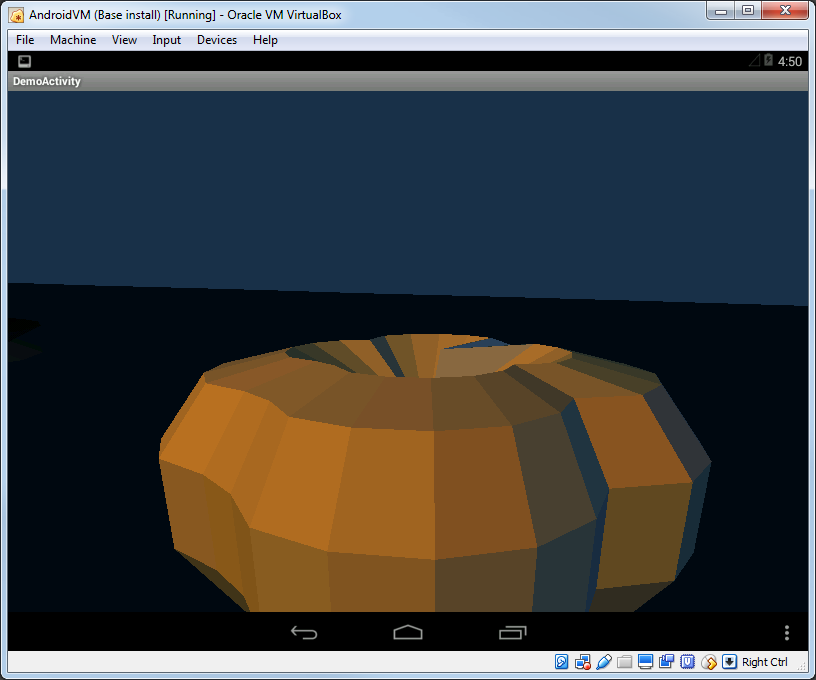
- Striking F5 in Visual Studio to showtime debugging. Yous volition see the san-angeles demo being rendered in the VirtualBox window:
- Gear up a breakpoint somewhere in the code (e.1000. in the camTrack() part). It should hitting as before long as the role gets executed:
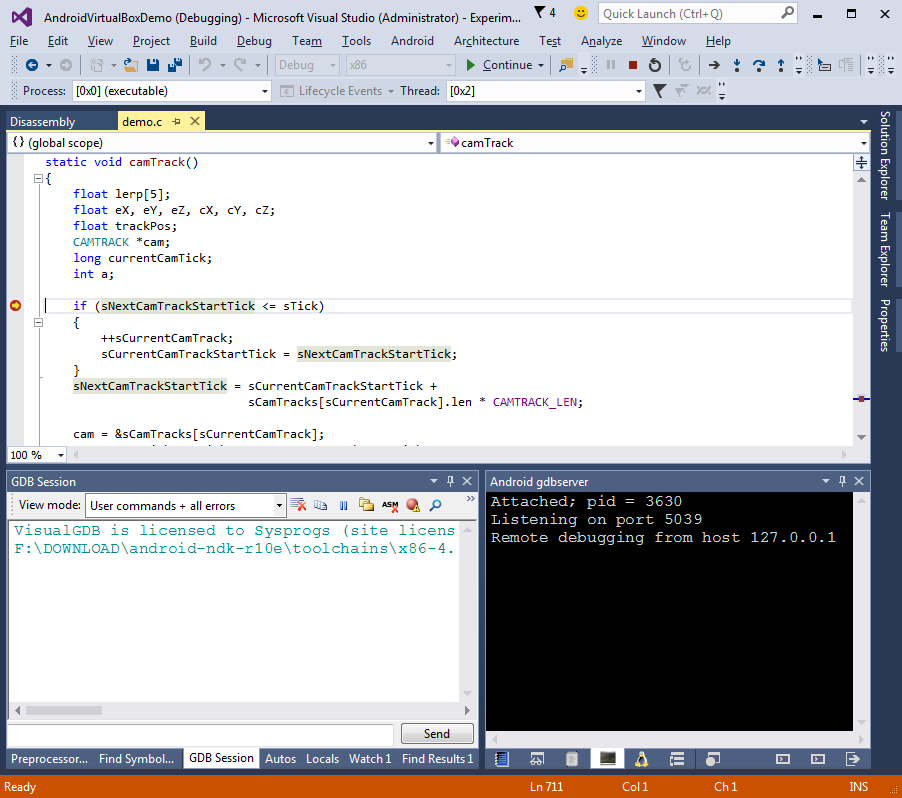
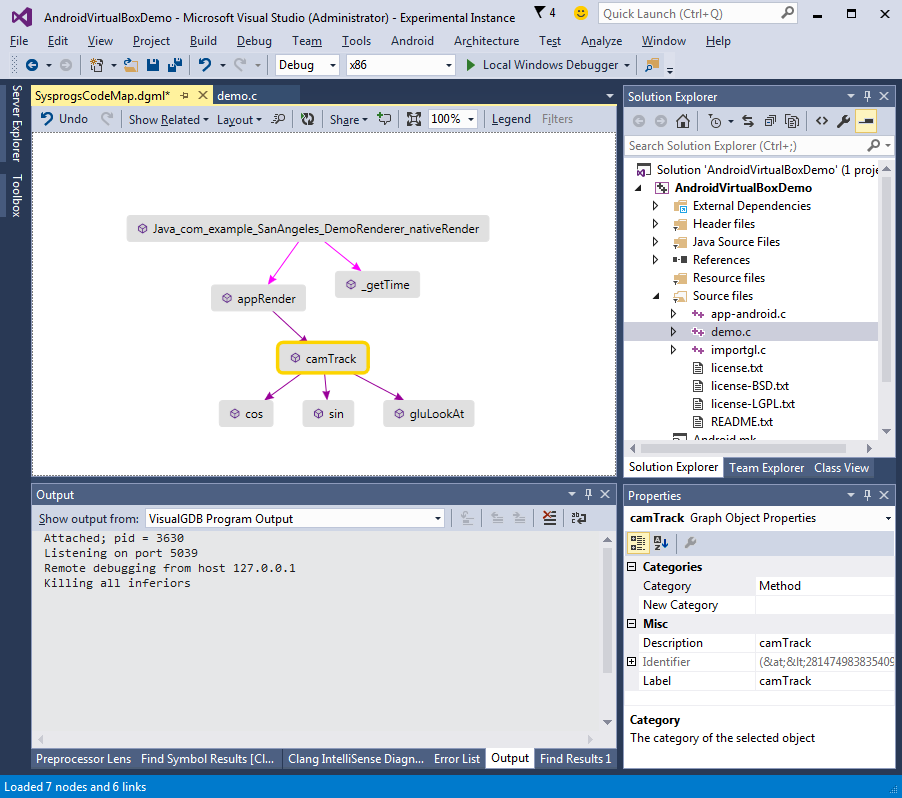
- Y'all can now use the normal Visual Studio debugging techniques to debug your application. If you are using the Clang-based IntelliSense that comes with VisualGDB, you lot can also utilize avant-garde features like Preprocessor Lens and C++ Code Map:

Source: https://visualgdb.com/tutorials/android/virtualbox/
Posted by: dealusio1963.blogspot.com
0 Response to "How To Install Android X86 On Virtualbox"
Post a Comment